How to Take Backup of Office 365 Mail? Precise Solutions
Plot: This article is specially designed for users seeking a reliable solution for the query i.e. how to take backup of Office 365 mail into PST locally. Read the complete article to get the productive solution for the same.
There are two companies, A and B, and both use Office 365 for their business purposes. Both companies are extremely efficient and generate enormous profits on a yearly basis. However, as a result of its reckless behavior, business A was forced to incur a massive loss one day. What exactly was it? Where company B made it a practice to back up its Office 365 emails on a regular basis, company A relied on Microsoft to back up its data.
From the mistake of company A, we learn the importance of backing up our Office 365 emails regularly.
The growing number of individuals who use Microsoft 365 as their primary email client has increased the significance of backing up its emails.
Can we trust Microsoft to keep a backup of our data? No, since Microsoft only accepts responsibility for data loss caused by administrative errors. Furthermore, under Microsoft’s ‘Shared Responsibility model,’ companies are equally liable for any unintentional deletion, data loss caused by hacking, ransom ware, or malevolent insiders.
Therefore, we are on our own to protect our data. But worry no, we are here to support you. In this article, you will find the simplest and direct method using which you will be able to back up your Office 365 emails.
Different Ways to Take Backup of Office 365 Mail
There are two methods for backing up Office 365 emails. If you need to back up a large amount of data, the professional tool is the way to go. This is because manual tools were not created with the intention of providing users with a backup. As a result, they have a lot of limitations.
Let’s discuss them one by one.
The Office 365 Cloud Backup & Restore Tool is software that allows you to preserve all of your data from various Office 365 accounts, including emails, calendars, contacts, and documents.
It keeps all of the data’s meta characteristics and data integrity after backup. The tool also has a ‘Date-Filter feature,’ using which you can download only the data that you have selected based on a particular date range.
Follow the Below Guided Steps to Archive Office 365 mailbox into PST
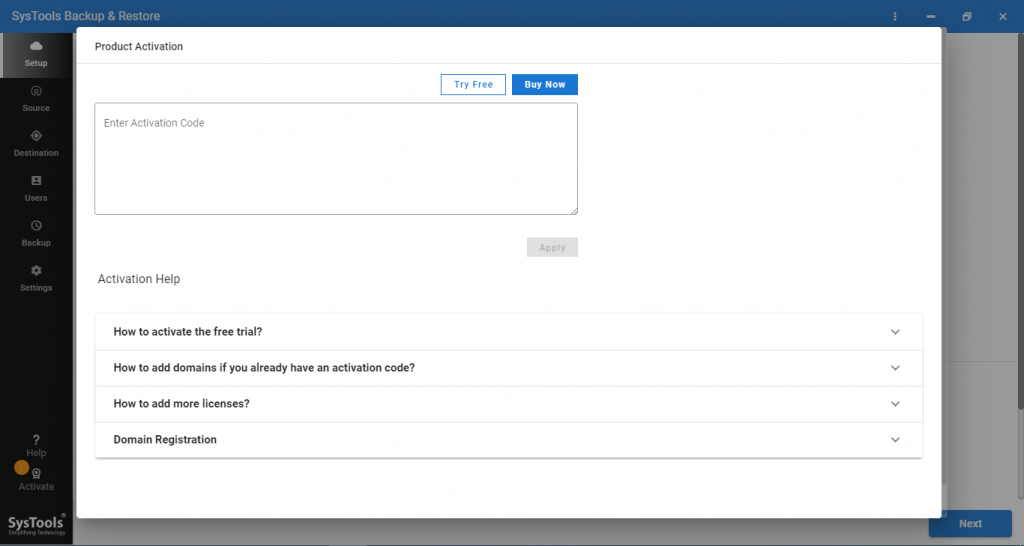
Step 1. Download and Start the tool on your system.
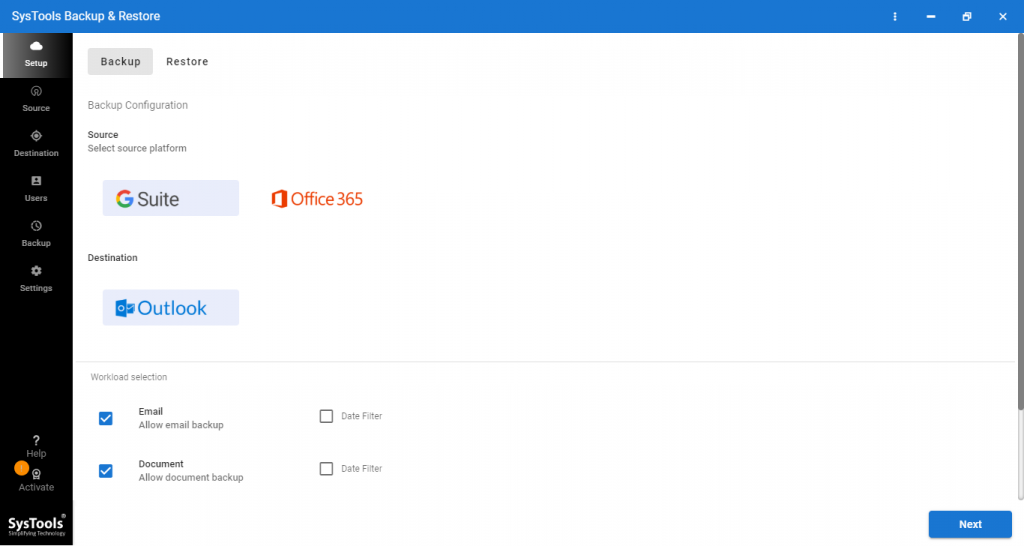
Step 2. Select the Setup option and then pick the backup’s Source and Destination.
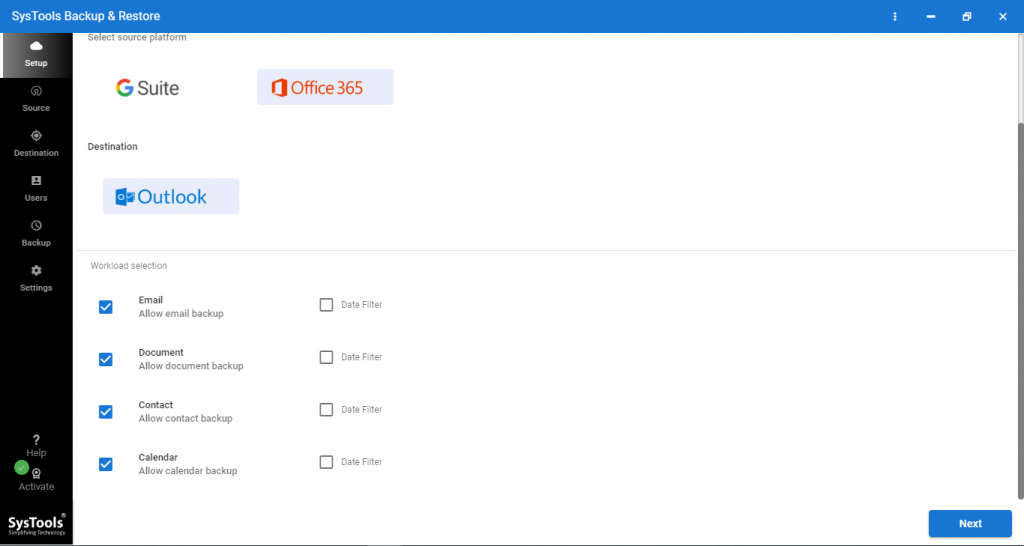
Step 3. Under the workload station, choose the categories from Office 365 to take backup of Office 365 mail.
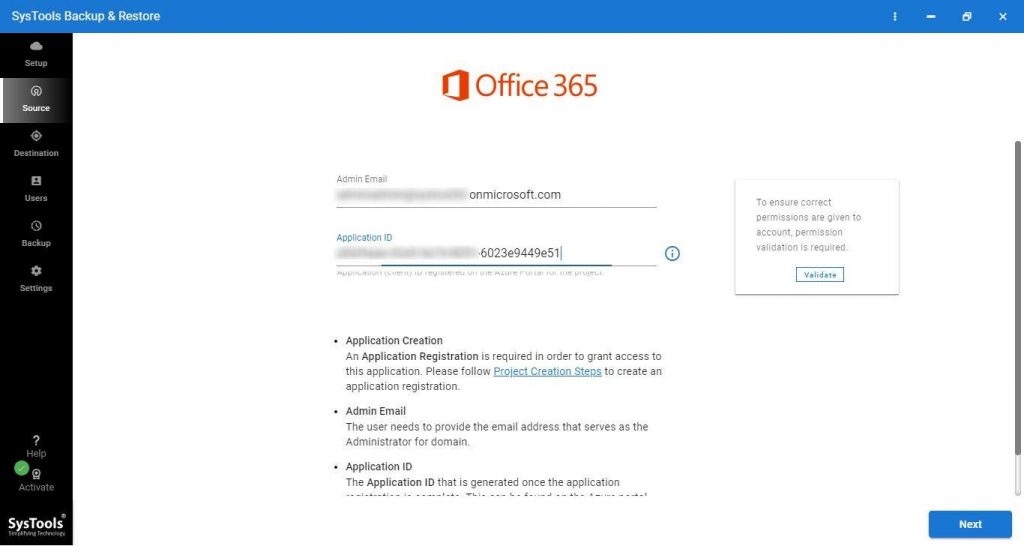
Step 4. Enter your Office 365 login credentials and then press the Next button.
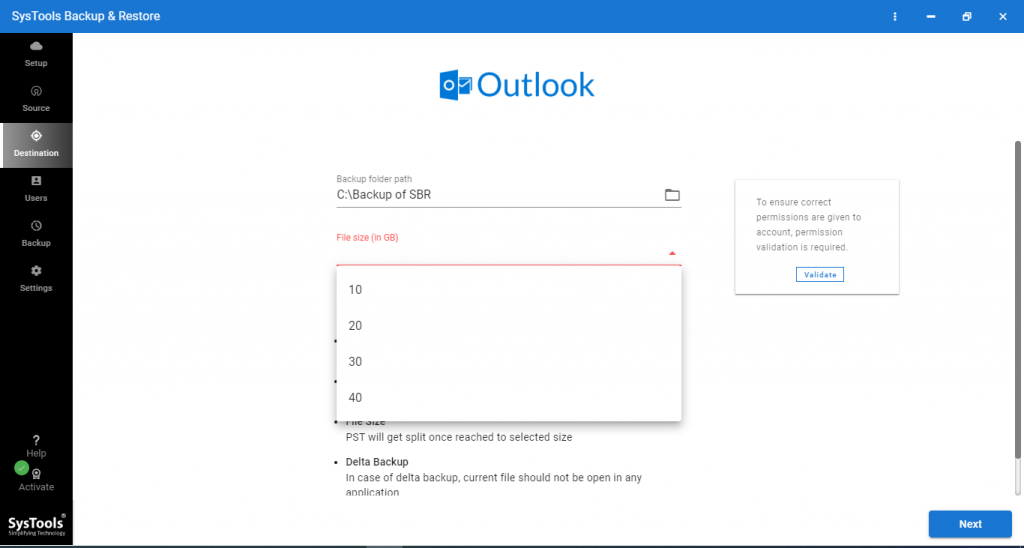
Step 5. Navigate to the location where you want the PST files to be stored and then hit the Next option to archive Office 365 mailbox to PST.
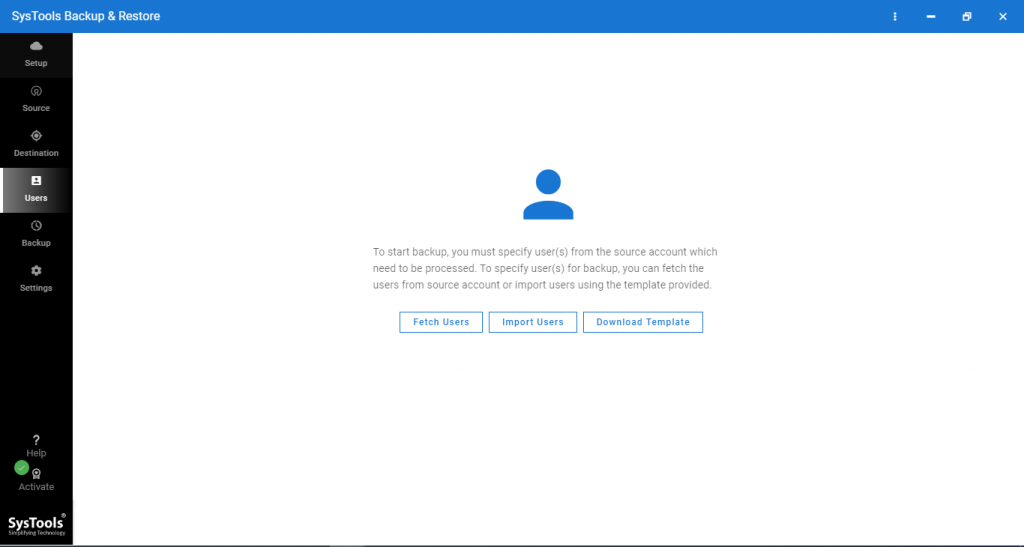
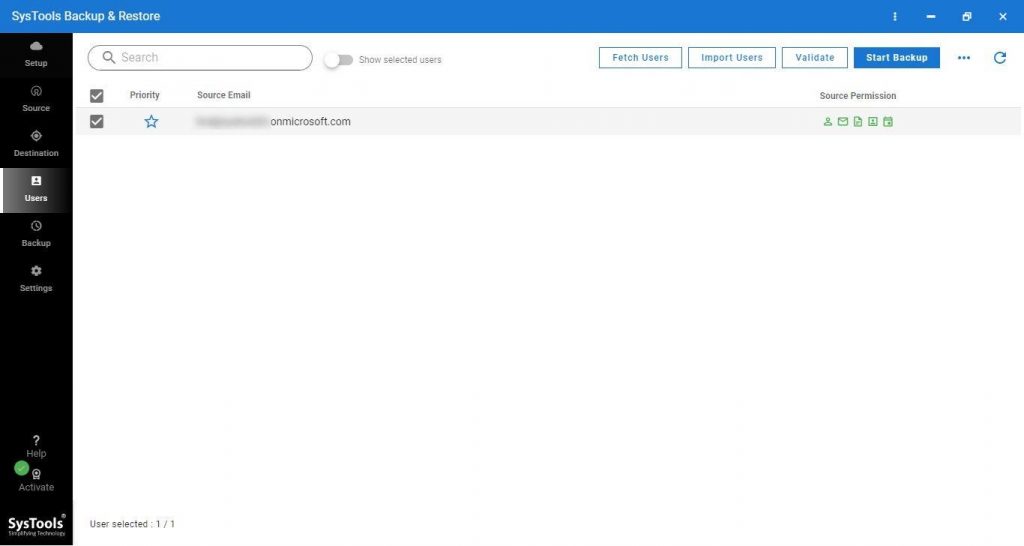
Step 6. Now, add the users that are to be processed from the source account.
Step 7. Click on the Validate option to verify the accounts, and then click OK.
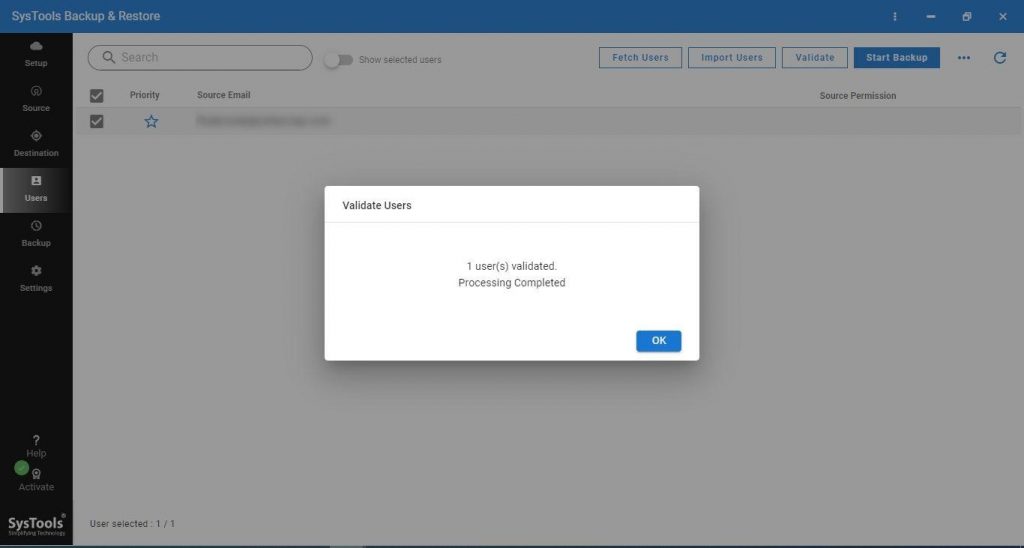
Step 8. From the ribbon bar, select the Start Backup button to take backup of Office 365 mailbox.
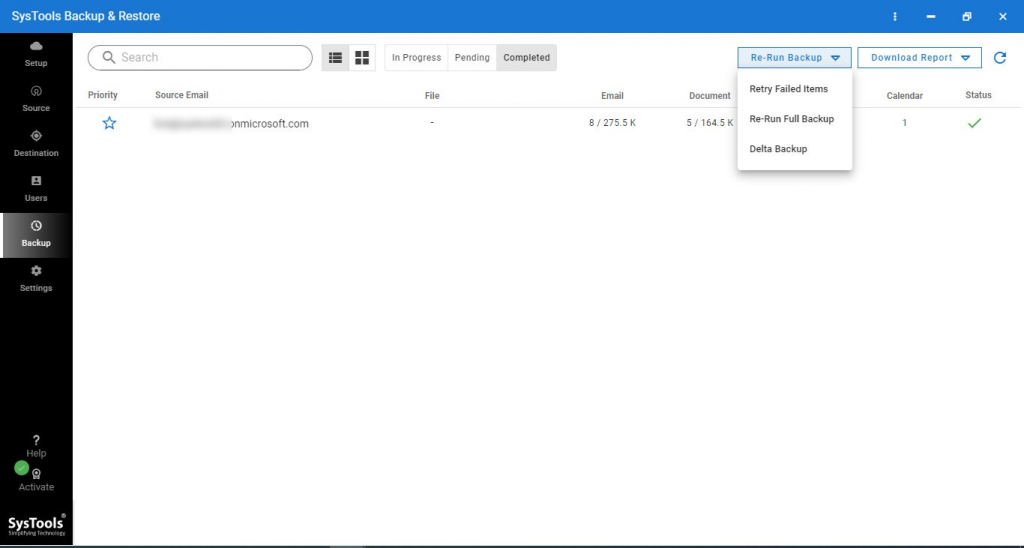
Step 9. If you need to run the backup, you can do it by selecting the the Re-Run Backup option.
Method 2: Native Method to Take Backup of Office 365 Mail
Follow these steps to create a manual backup of your Office 365 data:
- MS Outlook has been downloaded and installed on your computer.
- Go to File >> Add Account and sign in using your Office 365 credentials.
- The Outlook PST file that is automatically produced following Outlook synchronization is a backup file for Office 365 mailboxes.
- The default path for Outlook files is C:/users/username/Documents/Outlook/File.
- The PST file may be used as a backup file to keep things secure.
- Open the email, print it as a PDF, then save it to the chosen area on your desktop if you wish to save a backup as a PDF file.
- MS Outlook is downloaded and installed on your desktop or laptop.
- Go to File >> Add Account and sign in using your Office 365 credentials.
- The Outlook PST file that is automatically produced following Outlook synchronization is a backup file for Office 365 mailboxes.
- The default path for Outlook files is C:/users/username/Documents/Outlook/File.
- The PST file may be used as a backup file to keep things secure.
- Open the email, print it as a PDF, then save it to the chosen area on your desktop if you wish to save a backup as a PDF file.
Problems with the Manual Method to Archive Office 365 Mailbox
- Backups of Calendars, Notes, and Journals are not possible manually.
- Manual backup is time-consuming and laborious, requiring constant attention. Minor errors demand repeating the procedure, and may even result in the corruption of the Outlook data file.
- With this method, just one account mailbox may be backed up.
The Most Important Reasons to Backup Your Office 365 Emails
- A power outage or an internet outage caused by hardware or software malfunction might result in data loss. As a result, it is important to retain a local backup of the data.
- Employers erase ex-employee data to save money on licenses. When you delete an Office 365 account, you also lose all related data.
- You can recover deleted objects in Office 365, but the recovery tools are restricted in their capabilities.
- If the data from the recoverable items folders is not retrieved after 30 days of being removed (soft deletion) or permanently erased, the data will be permanently destroyed (hard deletion). The data can then no longer be retrieved.
Concluding Words
It is very important to preserve our Office 365 emails to keep our business moving forward. How can we do that? This has been explained in detail in this blog post. Along with the methods, the reasons why you should backup are also shared.


