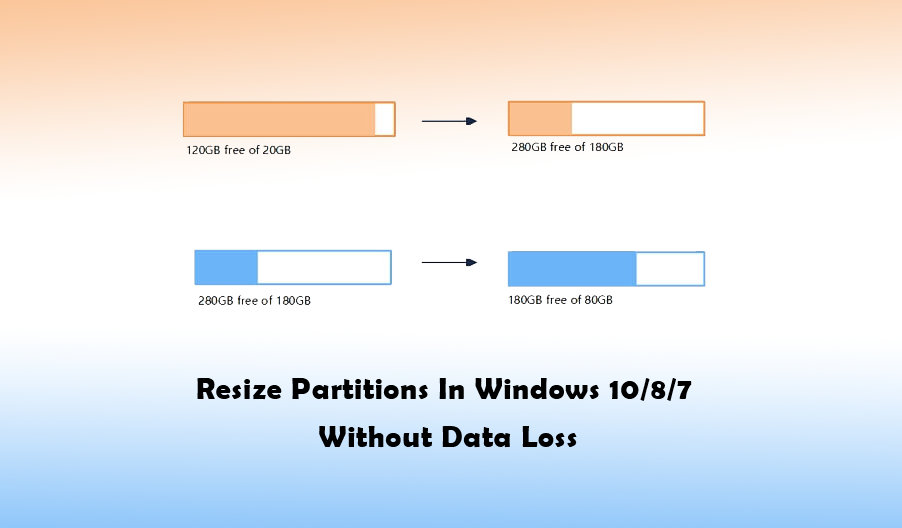
How To Resize Partitions In Windows 10/8/7 Without Data Loss?

Resizing means partitioning the window’s size or extending or shrinking it. Resizing is basically a process that increases the size of the partition or shrinks the size of the partition as per your requirements. Furthermore, users can also split the partitions into two equal partitions or can also free up storage space from any partition which is existing. Partition is basically referred to as drive. The hard drive is divided into multiple partitions so that it can be used for various purposes like maintaining personal data and maintaining the operating system of the computer.
If your hard drive is huge, you can always create its partitions for better use and storing files. But whenever a partition happens over a hard disk, there is a probability that the partition size does not fit the user’s requirements. In this blog, we will learn about how to resize partitions in Windows 10/8/and 7 with the help of three efficient methods. So, let’s get started.
How to resize partitions in Windows?
1. Method 1: Resizing partition with Disk Management
In the first method, we will read about how to resize partitions with the use of disk management. To begin with, Disk Management is an in-built utility tool available in Windows. It was firstly introduced in the XP version with the purpose to replace the disk command. This tool allows us to manage and view disk volumes on our system. With the help of this tool, we can view the file system, capacity, disk layout, and more. Moreover, it also helps in extending or shrinking the partition in easy steps. Below are the steps to resize partition with disk management tool:
Step 1: Open Disk Management in your system. (To open the disk management: Go to desktop, right-click on “Computer”, click on Manage from the context, and select Disk Management).
Step 2: In this step, you will need to select the partition you wish to resize. Now, right-click on the partition and choose “Shrink Volume.” If you wish to increase the size of the partition choose “Extend Partition.”
Step 3: You will have to enter the storage space you wish to change and then click “Shrink key.” So, whenever you enter the amount of storage space to be shrunk make sure the unit is in MB.
Voila! It’s done.
2. Method 2: Resizing partition with EaseUS Partition Master
In this method, we will read about how to resize partition with EaseUS Partition Master. To begin with, EaseUS Partition Master is one of the best tools specially designed for making alterations like shrinking or extending (basically disk partition) on Windows. This tool is loaded with features and abilities to make important changes without any data loss. It can make changes like resizing, copying, creating, deleting, merging, cloning, formatting, and moving partitions. Below are the steps to use EaseUS Partition Master:
Step 1: Download and launch EaseUS Partition Master.
Step 2: Open the application once it is downloaded completely.
Step 3: In this step, you will need to choose the target partition size and then click right on the selected item. You can do it from the options given like Resize/Move.
Step 4: In this step, you will need to open Resize/Move tab which will show the partitions of the disk. You can easily drag the ends of the partition in order to shrink or extend.
Step 5: In this step, you will have to move your cursor to the Top Bar and then select the Execute Operation key. Later, under Pending Operations click on apply.
Voila! That’s it.
3. Method 3: Resizing partition with repartitioning the hard drive
Another best solution to resize partitions in Windows 10/8/7 is repartitioning the hard drive. Repartitioning a hard drive means changing the size of the partitions and the number of the partition. It is also one of the best solutions to resize the partition on Windows without any data loss. While trying this method, you can set number, size, partition type, drive letter, volume name, etc. so that you can set the partition according to your requirements.
However, please note that partitioning of the disk deletes all current partitions and data before the creation of new volumes, therefore, you will need to create the backup of the data before trying this method. Furthermore, before trying this method, you will have to plan the partition layout in advance so that there is no confusion and data loss. You will need to plan things like, which partition table you wish to use, the size of the partition you want, or how many partitions you require, etc. Moreover, you will also have to reinstall Windows if the disk is to be resized or partitioned in installed in Windows.
Additionally, you can use any free partition manager (like EaseUS Partition Master) to make this process more simple and intuitive. Below are the steps to resize partition with repartitioning the hard drive:
Step 1: In this step, you will need to connect the hard drive you wish to repartition and then launch the EaseUS Partition Master.
Step 2: In this step, you will need to choose the disk to be partitioned and click the “Quick Partition” key from the toolbar.
Step 3: In this step, you will need to select the partition size, number, 4K alignment, type, etc., and then click the “Ok” key. Now, wait for a few seconds and minutes, let the disk be partitioned successfully.
Voila! That’s it.
EaseUS Partition Master will help you in resizing the partition of Windows 10/8/7 without any hassle and data loss.
I hope this blog helps you with “how to resize partitions in Windows 10/8/7 with the help of three efficient methods.
Thanks for reading!


